
In this article, we will discuss how to use EspressReport ES to make reports against Excel data by using the JDBC driver from CData. We are using Windows for this article and assume that EspressReport ES is installed in “C:\ERES71\”.
CData Software offers about 250 types of JDBC Drivers for various data sources such as MongoDB, Kintone, Dynamics 365, JIRA, etc.
By using these various JDBC drivers and the Data Registry Manager in EspressReport ES, you can access data from all kinds of data sources in the Cloud and SaaS applications for robust reporting and visual analytics. Please download the Excel file here and copy to the directory (C:\ERES71\help\examples\DataSources\excel\) if you would like to follow the example.
JDBC driver setup
First, install the CData Excel JDBC Driver. A trial version is available from the URL below.
https://www.cdata.com/drivers/excel/jdbc
After downloading the installer, proceed with the setup according to the dialogs.
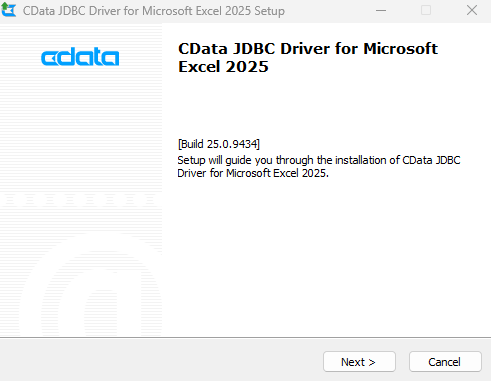
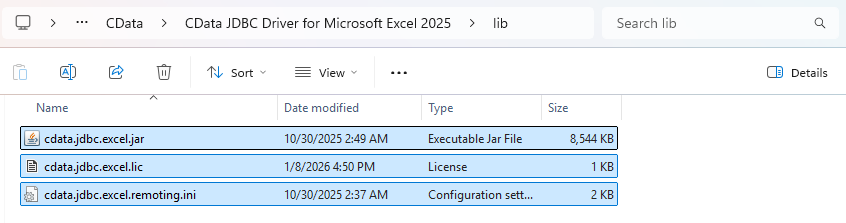
When the setup is complete, JDBC Driver will be created in “C:\Program Files\CData\CData JDBC Driver for Microsoft Excel 2025\lib“. Use this JDBC Driver to proceed with the settings for linking with EspressReport ES.
Deploying JDBC Drivers
Next, place the JAR and the license file for the JDBC driver installed earlier into EspressReport ES..
Copy “cdata.jdbc.excel.jar”, “cdata.jdbc.excel.lic” and “cdata.jdbc.excel.remoting.ini” into “C:\ERES71\WEB-INF\lib“.
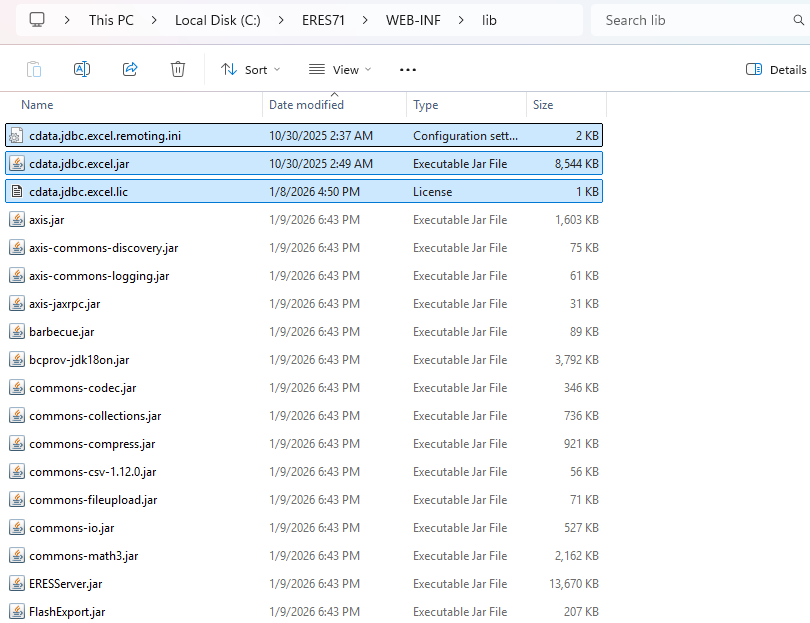
After you’ve copied the files, restart Tomcat where EspressReport ES is deployed.
Start ERES Organizer
Let’s create a report based on excel data with EspressReport ES. EspressReport ES uses a tool called Organizer to manage and visualize connection information. Log in to the startup screen.
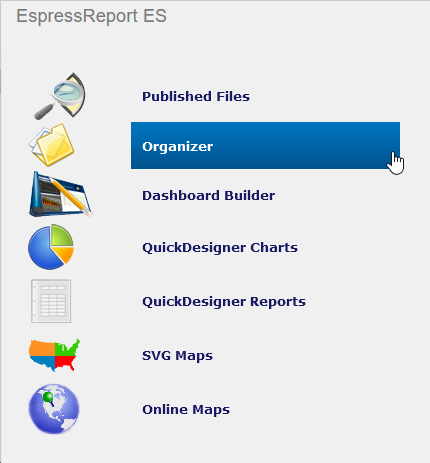
Select “Organizer” from the left menu.
The Java executable file will be downloaded as shown below. Launch it and click “Run”.

Add Data Source
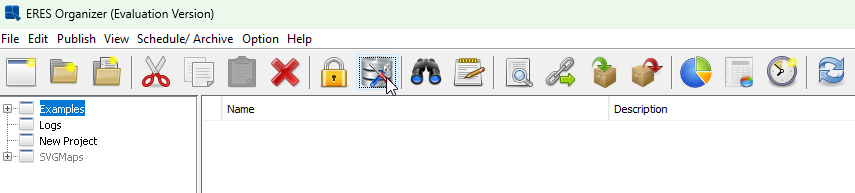
After launching ERES Organizer click on “Data Registry Manager”.
Click the Add button.
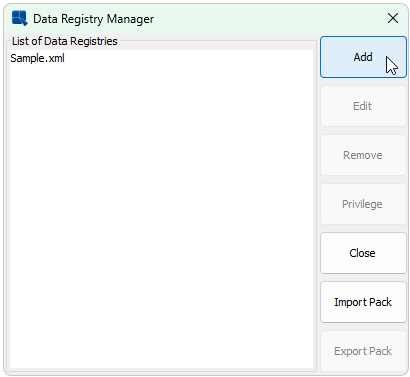
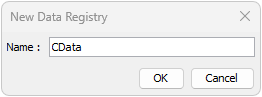
Create a Data Registry with a name of your choice.
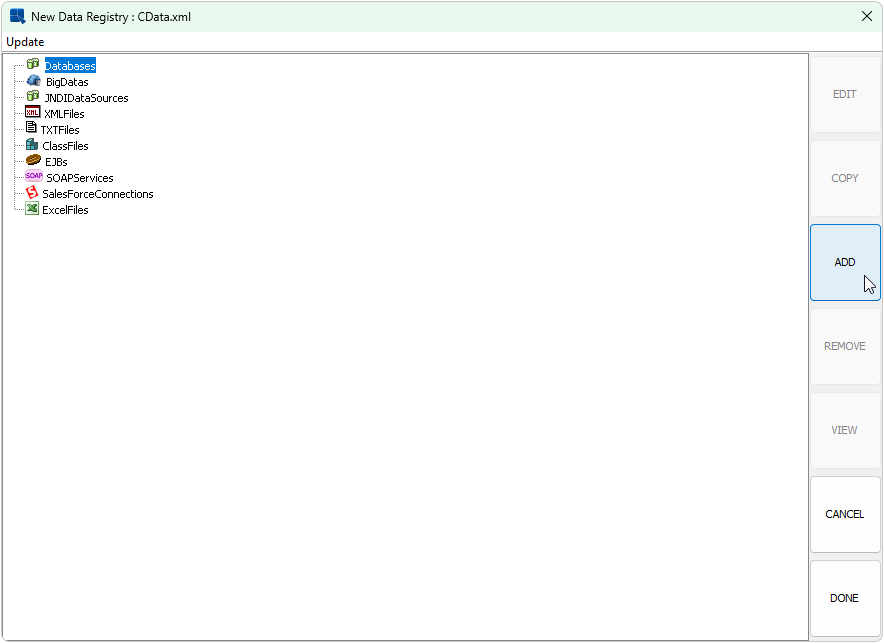
After creating the Data Registry, add a connection to the Database. Select Database and click ADD.
Enter the excel connection information for the CData JDBC Driver here.
Enter the name of your choice, select “Other” from the Driver List, and specify “cdata.jdbc.excel.ExcelDriver” for Driver.
Then enter the JDBC URL: “jdbc:cdata:excel:ConnectOnOpen=true;TypeDetectionScheme=RowScan;RowScanDepth=10;URI=C:\ERES71\help\examples\DataSources\excel\woodview.xlsx”
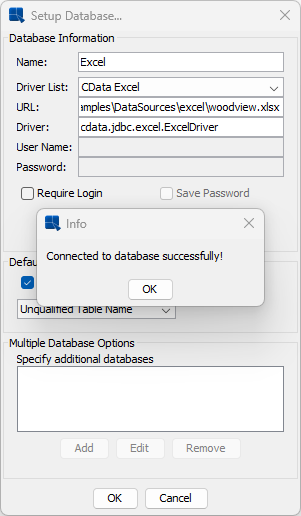
Click “Test Connection” if you have set everything up correctly the following message will appear.
Add Queries
After adding the connection to excel select Queries under excel connection and click the “ADD” button.
Enter the name of your choice and define a query using “Enter SQL statement”.
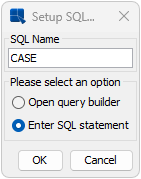
Set the SQL statement that you want.
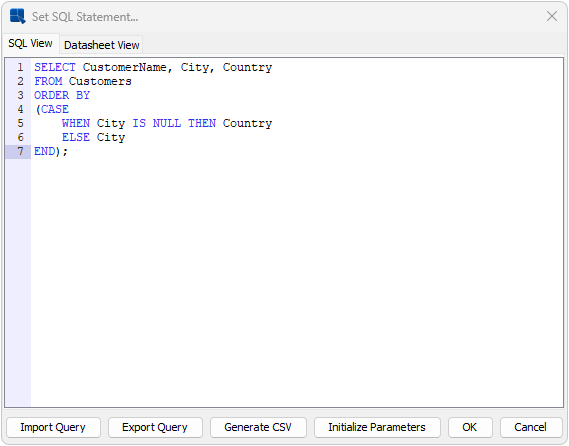
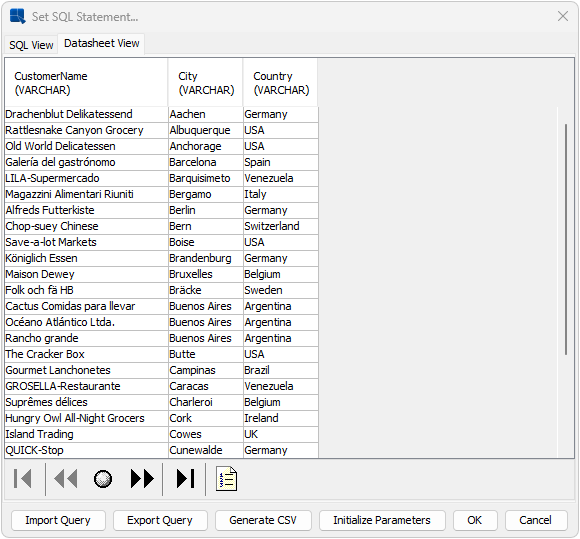
You can check the actual result by moving to the “Datasheet View” tab. Then you can save it.
Create a report
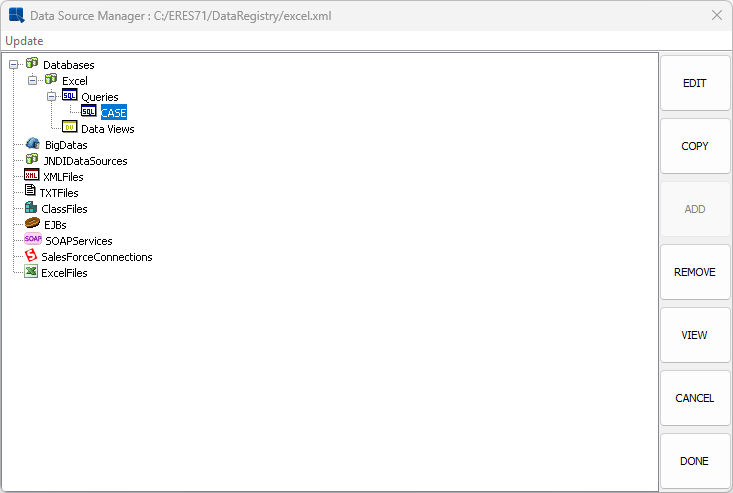
After creating a query, create a report based on the results of that query. Select the target query and click “VIEW”. (The following screen is just an example. Your “queries” will be different.)
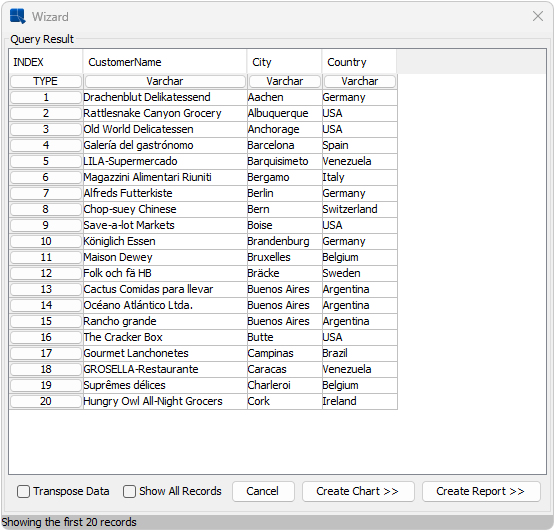
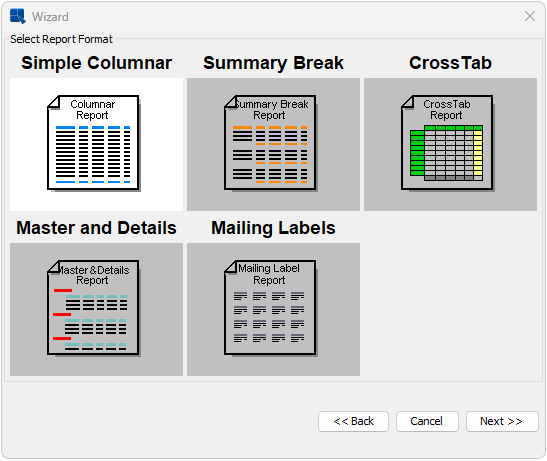
A wizard will be displayed as shown below, so select “Create Report”.
Select any report type you like in the Report Wizard.
Click “Next”. A report with Excel data will be created as shown below.
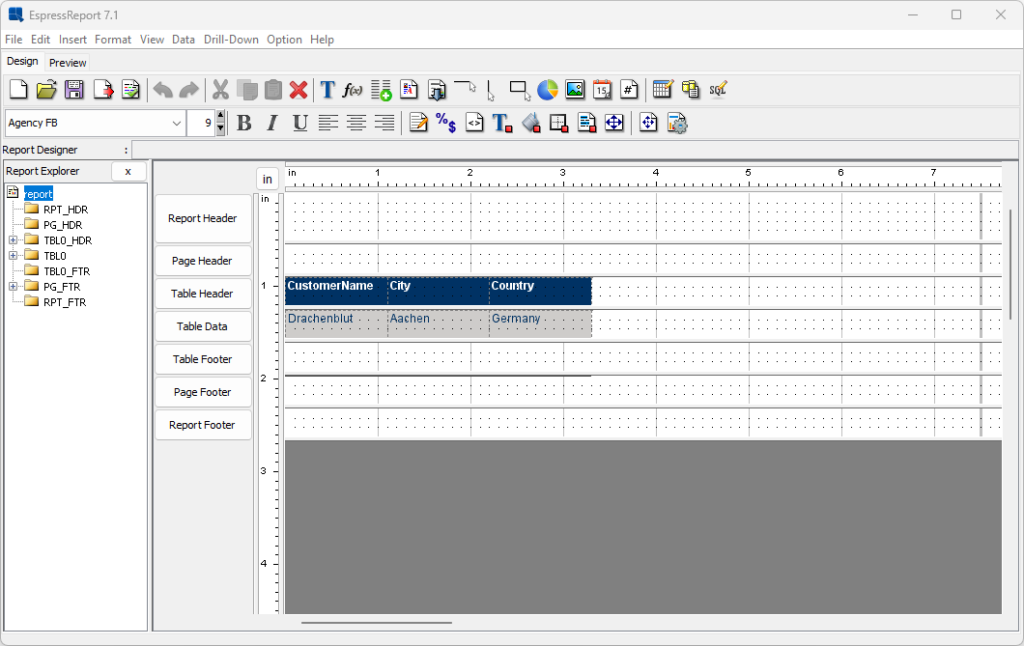
Click “Preview” to see the screen below.

Finally, fine-tune the design of the report, etc., and you’re done.
Conclusion
By using the CData JDBC Drivers, you can use EspressReport ES to make reports, charts, dashboards against virtually all kinds of data sources in the world.